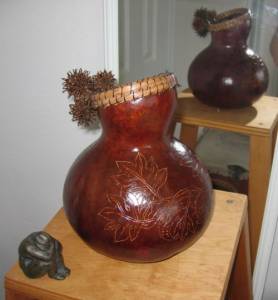
Pine Needle Rim
Supplies
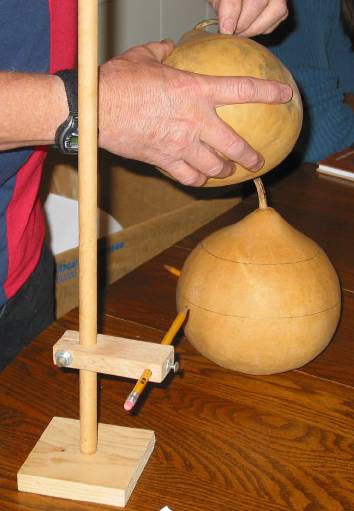
- a gourd, cleaned, and opened.
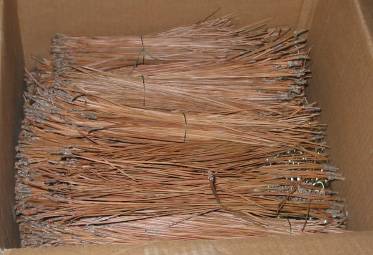
- a bundle of pine needles.
- waxed thread or equivalent
- a tapestry needle
- a drill with very fine drill bit. I use a dremel with a drill as small as my needle.
- a cake pan filled with hot water
- a sharp scissor
Steps
The pine needle rim is usually done after the gourd has been dyed and finished, but you can do the holes before dying so that they are less visible. If you plan on dying your needles you should do the rim before dying the gourd though.- Soak the pine needles in hot water for at least 20mn, so that they will not break when you bend them.
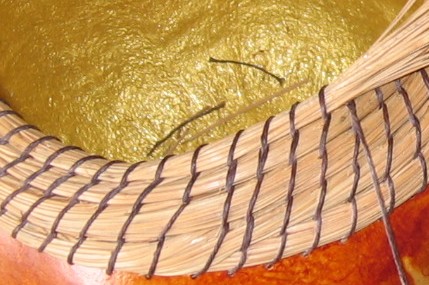
- Drill holes around the rim, regularly spaced (1/2 inch). No need to measure, your eyes will do it better.
- Select 10-20 pine needles and remove the basal sheath. Try to do that without separating the 3 needles. Use your thumb nail, pushing briskly toward the end of the needle.
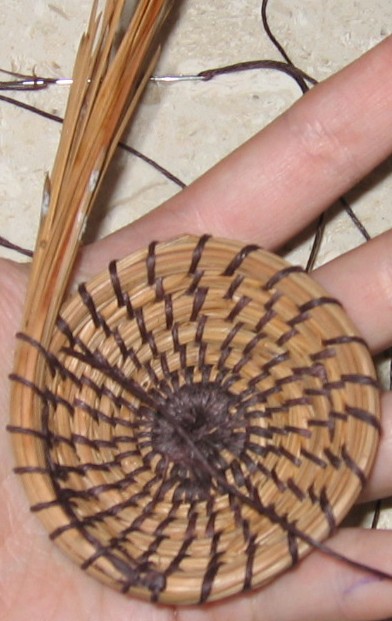
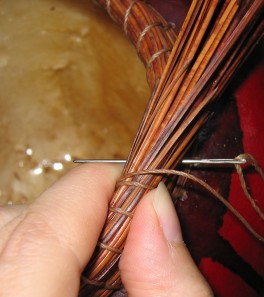
- Place your small bundle on the rim, maintaining with your left hand while going around it with the thread. Keep an inch of needles on the left side of the first stitch
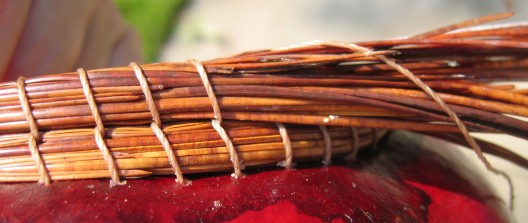
- Stitch around the needles. The stitch should not be loose, when the pine needle dry they will shrink a little. The stitch should not be too tight either as it may break the needles.
- Try to keep an even thickness by adding needles in the middle of the bundle while stitching. Some crafters use a small tube to encase the needles and insure an even thickness.
- Maintain the needles between your left fingers, this is what will give the shape to the rim. If you want the rim to grow toward the inside of the gourd, push with your left thumb slightly while stitching.
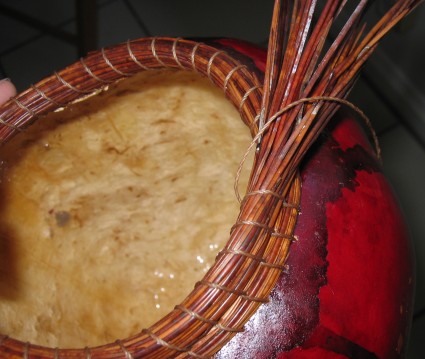
- When you are back at your starting point, incorporate the needles -the inch you left on step# 4- inside your working bundle, make sure the thickness stays roughly even.
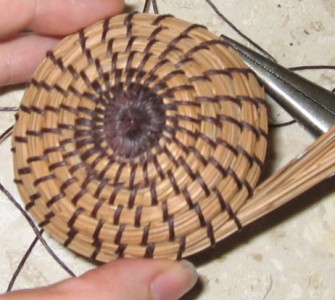
- Then move your working bundle on top of the needles and stitch inside the needles (I have a snapshot below that shows the step, but you can do better than that, with some practice the step is less noticeable).
- Toward the end of your rim, use a sharp scissor (embroidery) to cut a few needles inside the bundle, continue stitching and cutting until you have completely fazed-out your bundle.
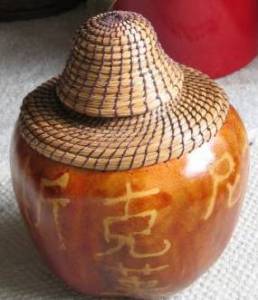
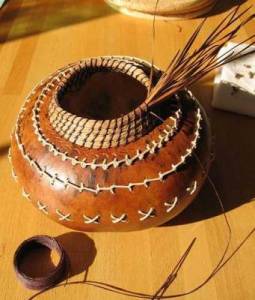
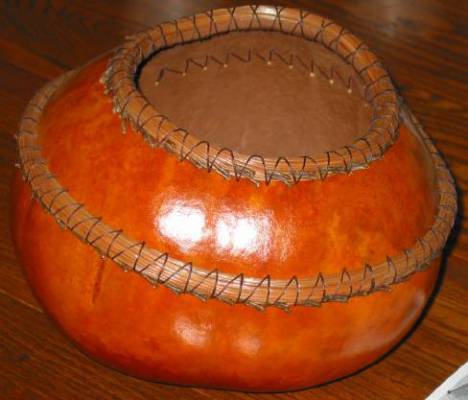
Jim Sherwood makes a very nice fat coil around his gourds.
It is also possible to make a lid with pine needles. Buy a book on pine needle basketry for more info!